![]() Many people lose data everyday due to various reasons: virus infections, accidental deletion, hardware & software failures, power failures and so on. To protect yourself from data losses, you can create a backup so that you will easily restore it when needed. Using Windows Vista’s Backup and Restore center, you can easily backup your personal files or the entire system. You can create a manual backup or schedule automated backups which will add the new files or the modified files into your original snapshot.
Many people lose data everyday due to various reasons: virus infections, accidental deletion, hardware & software failures, power failures and so on. To protect yourself from data losses, you can create a backup so that you will easily restore it when needed. Using Windows Vista’s Backup and Restore center, you can easily backup your personal files or the entire system. You can create a manual backup or schedule automated backups which will add the new files or the modified files into your original snapshot.
In this tutorial we will show you how to backup your data. In the following weeks we will also publish a tutorial about restoring your data.
NOTE: Windows Complete PC Backup and Restore is not included in Windows Vista Home Basic or Windows Vista Home Premium.
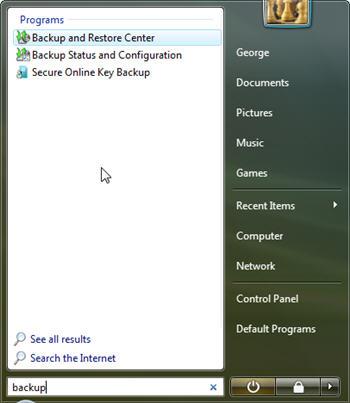
In the search field of the Start Menu type the word "backup" and then click on the Backup and Restore Center shortcut. Alternatively, you can go to Control Panel -> System and Maintenance -> Backup and Restore Center.
The Backup and Restore Center has two main sections: one for backing up files and one for restoring them.
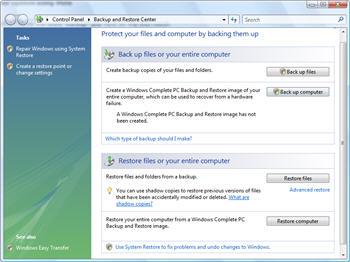
On top of this, the backup section offers another two options: Back up files and Back up computer. The first option will create a backup of your personal files and folders and the second will create a complete backup of your entire computer. It is recommended to create a full back up of your computer just after you have set up your computer for the first time. Windows Vista will take a snapshot of all your programs, settings and files. You can use this snapshot if your computer ever stops working and restore it to the original state.
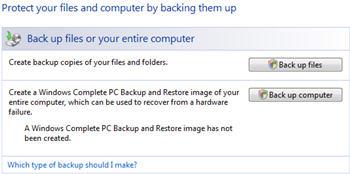
How to backup your personal files and folders
To start the procedure, click on the Back up files button and the wizard will start.
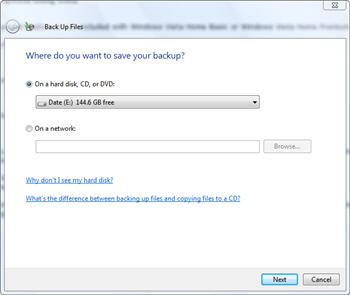
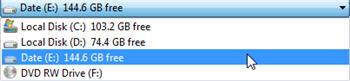
In the Back Up Files window you will have to select where to save your backup. You can select a partition from your hard disk, a CD, a DVD or a shared folder from your network. Select the location you prefer and click on Next.
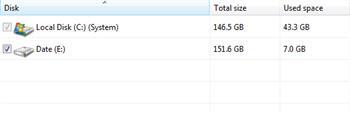
In the next window, you will see a list with all your partitions except the one selected as the location for saving your backup. The partition on which Windows Vista is installed will be selected by default. Now you can choose to include or exclude other partitions from the backup procedure. After you have made your selections, click on "Next".
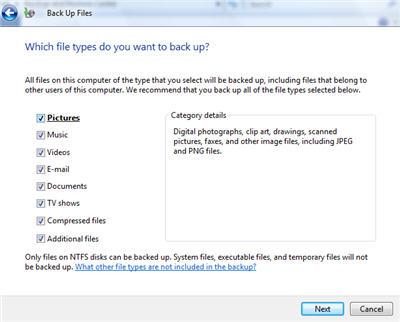
The wizard will now ask you to select the types of files you want to have backed up. You can choose any of the following: pictures, music, videos, e-mail, documents, tv shows, compressed files and additional files. Select the file types you want to include in the back up and click on Next.
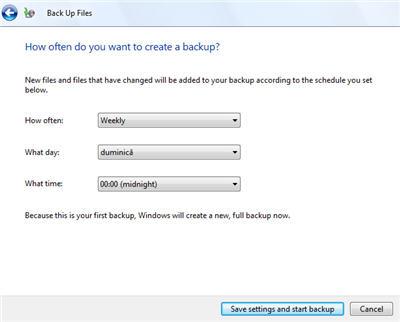
In the next window you will be asked about the frequency of the back up process. You can have daily, weekly of monthly backups. The scheduled backups will include only the new files or the modified files to the initial backup which you are about to complete.
Create the settings you want and then click on Save settings and start backup.
The backup process will start. First it will make a shadow copy, then it will scan the selected partitions for files and folders and then it will create the desired backup.
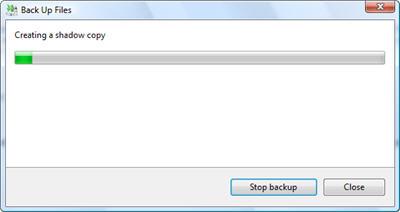
Depending on your system and on how much data you want to backup, the procedure will take from a few minutes up to a few hours. You can stop the backup at any time by clicking on Stop backup.
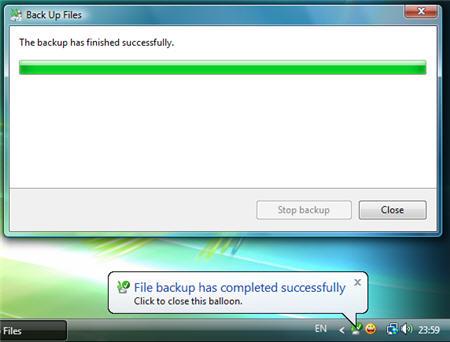
When the backup is completed you will see a balloon tip notification showing up on your screen.
How to reschedule or turn off your automated back up
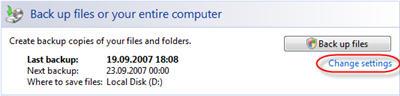
If you want to change the settings of the automatic backup procedure, go to the Backup and Restore Center and click on the Change settings link beneath the Backup files button.
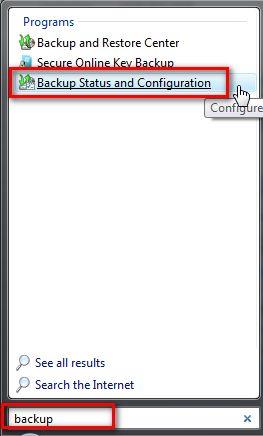
Alternatively, you can use the start menu search box, type "backup" and click on the Backup Status and Configuration shortcut.
The Backup Status and Configuration window will open. Here you will see the latest information about your backups.
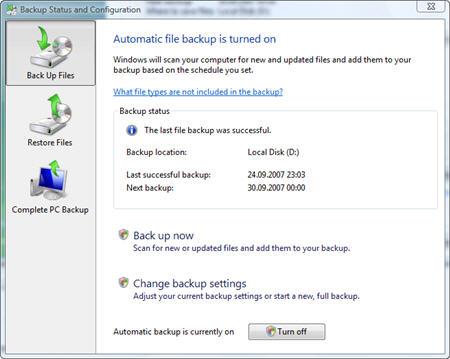
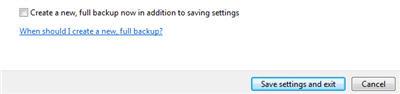
If you want to make a new backup, click on the Back up now button. To change the current settings click on the Change back up settings button. You will notice that if you want to change the settings, you will have to go through all the steps described in the screenshots above: selecting the drives, selecting the file types, selecting the schedule, and finally you will have to choose if you want to create a new backup or you just to save the settings and exit.
If you want to disable the automatic backup, click on Turn off.

Once you have finalized making all the desired changes, close the window.
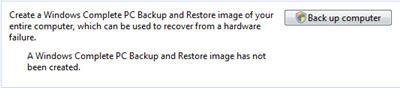
How to create a complete PC backup
To create a complete backup of your PC, go to the Backup and Restore Center and click on Back up computer to start the procedure.
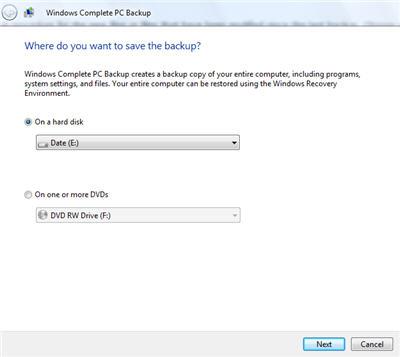
The wizard will start and it will ask you where you want to save the backup. You can select a hard disk or one or more CDs/DVDs. Make sure you have enough CDs/DVDs or sufficient space on your hard disk and then, after you have made your choice, click on Next.
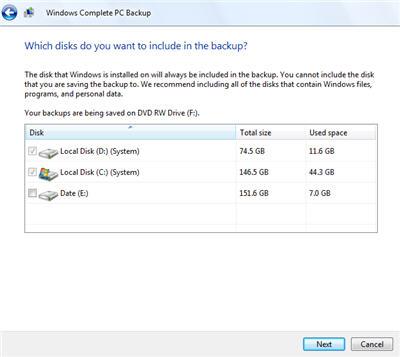
In the next window you will need to select the partitions which you want to include in the backup. Make the appropriate selections and click on Next.
In the last window, the wizard will show you a summary of your backup settings: the backup location and the disks which will be backed up. In the Backup location field it will show you the number of DVDs required or the hard disk space required to save your backup.
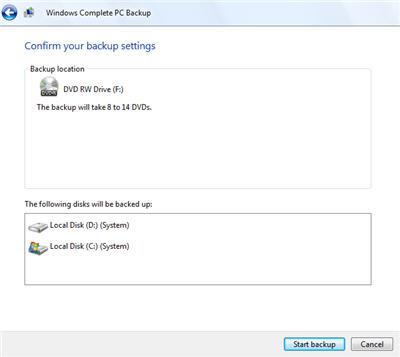
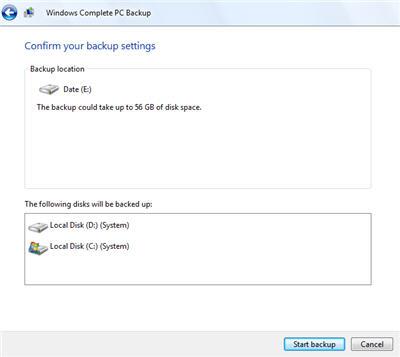
Click on the Start backup button and the procedure will begin.
NOTE: this tutorial was created with UAC turned off. If you have it turned on, you will have to make some additional confirmations for the changes that you want to apply.
No comments:
Post a Comment