![]() When you heavily tweak different aspects of Windows Vista, liken when transforming it's looks to be like a Mac OS X chances are that, if you are not careful, some of your system files will become corrupted or get deleted and lost in the process. This can sometimes lead to Windows Vista not working properly. In such scenarios, you either use System Restore or System File Checker to restore your system files.
When you heavily tweak different aspects of Windows Vista, liken when transforming it's looks to be like a Mac OS X chances are that, if you are not careful, some of your system files will become corrupted or get deleted and lost in the process. This can sometimes lead to Windows Vista not working properly. In such scenarios, you either use System Restore or System File Checker to restore your system files.
When using System Restore you will restore not only your system files but also your settings to a previous state. If you want to restore only your corrupted or deleted system files, it is better to use System File Checker. In this article I will show you where to find this tool and how to use it.
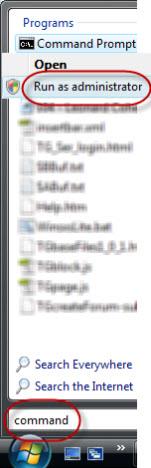
In order to use System File Checker, type in the Start Menu search field the word 'command'. The first result should be the Command Prompt. Right click on it and select 'Run as administrator'. After the UAC (User Account Control) prompt will show up, click on Continue.
Alternatively, you can find the Command Prompt by going to 'Start -> All Programs -> Accessories'.
In the Command Prompt window, type sfc and you will see a command list with explanations for each one of them.
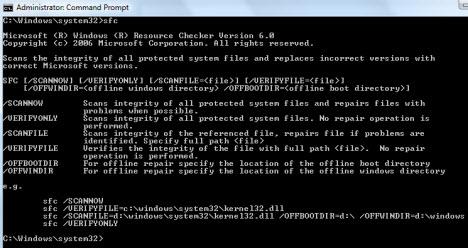
The most common and useful commands for System File Checker are the following:
- sfc /verifyonly - Scans integrity of all protected system files without repairing any.
- sfc /scannow - Scans integrity of all protected system files and repairs files with problems when possible.
Depending on your system, the scan can take up to 15-20 minutes. If the scan encountered system file errors and it fixed them, you will see a confirmation message just like in the screenshot below.

No comments:
Post a Comment